
Unleash Your PC: The Ultimate Guide to Wall Mounted Builds
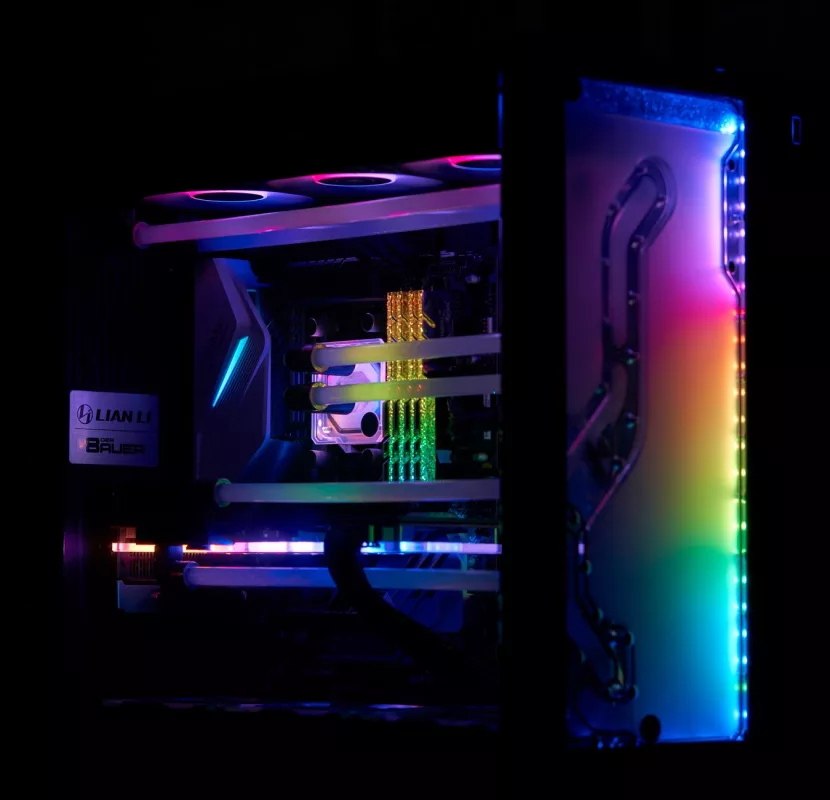
Man, I've always been captivated by custom PC builds, especially those truly unique setups. For me, nothing quite screams 'personalized' and 'futuristic' like a wall-mounted PC. It's not just about getting your rig off your desk; it's about transforming it into a functional piece of art, a conversation starter, and an absolute powerhouse that’s always on display. I mean, who wouldn't want their high-performance components showcased instead of hidden away in a boring box?
Why Go Wall Mounted? The Allure and Advantages
When I first stumbled upon images of these incredible wall-mounted systems, my immediate thought was, "Wow, that's clean!" And honestly, that's one of the biggest draws. Removing the bulky tower from your desk frees up so much precious real estate. Think about it – more space for your monitor, peripherals, or just a cleaner, more organized workspace. It's an absolute game-changer for smaller rooms or minimalist setups where every inch counts.
Aesthetics That Turn Heads
Let's be real, a conventional PC case, no matter how sleek, is still just a box. A wall-mounted PC? That's a whole different ballgame. It's an opportunity to truly express yourself. You get to highlight all those expensive, good-looking components you've carefully chosen. The motherboard's intricate design, the glow of your RGB RAM, the sheer size of your graphics card – it all becomes part of the decor. It's like having a high-tech sculpture on your wall, making it a focal point in any room. My friends always do a double-take when they see mine, and that's a pretty cool feeling!
Enhanced Cooling Potential
Now, this is a big one for enthusiasts like me. Traditional cases, even with great airflow, can sometimes struggle to dissipate heat efficiently, especially in compact designs. With a wall-mounted setup, you're often working with an open-air design. This means your components aren't cooped up; they have direct access to ambient air. This can lead to significantly lower temperatures for your CPU and GPU, which in turn can extend their lifespan and potentially allow for better overclocking stability. I've definitely seen my temps drop after moving my components out into the open.
Unparalleled Accessibility
Ever tried to swap out a component in a cramped PC case? It can be a nightmare, right? Wall-mounted systems, especially open-frame ones, make upgrades and maintenance an absolute breeze. Need to add more RAM? Pop it in. Want to change your GPU? Easy peasy. Cleaning dust becomes less of a chore too, as you can easily access every nook and cranny. I love being able to tinker with my setup without feeling like I need surgeon's tools.
The Roadblocks: Challenges You Might Encounter
While the idea of a wall-mounted PC is super appealing, it's not without its quirks. There are definitely some things you'll need to consider before diving headfirst into such a project. It’s not just slapping components onto a board and calling it a day.
Cable Management: The Ultimate Test
This is probably the biggest hurdle you'll face. When your PC is on display, every single cable is visible. Poor cable management can instantly ruin the aesthetic you're striving for. You'll need to be meticulous, using cable ties, custom-length cables, and routing channels to keep everything neat and out of sight. It takes patience, but trust me, the end result is incredibly satisfying.
Dust Accumulation and Cleaning
Open-air designs, while great for cooling, are magnets for dust. Your components are directly exposed to the environment. This means more frequent cleaning is a must. A can of compressed air will become your best friend. While it's easier to access components for cleaning, the sheer volume of dust might surprise you if you're used to filtered cases.
Security and Environmental Concerns
Having your PC components out in the open means they're more vulnerable. If you've got pets or small children, this is a serious consideration. A curious paw or a playful grab could spell disaster. Also, consider the environment where it's mounted. Is it near a window where sunlight might hit it directly? Is it in a high-traffic area where it could be bumped? These are practicalities we often overlook when dreaming up cool builds.
Noise Levels
With an open-air setup, you don't have the sound-dampening qualities of a traditional case. This means the whir of your fans, pump noise from your liquid cooler, and even coil whine from your GPU might be more noticeable. Choosing quiet components becomes even more important here. I learned this the hard way!
My Journey: Building Your Own Wall Mounted Marvel
So, you're convinced and ready to take the plunge? Awesome! Here’s how I'd generally approach building one, based on my own experience:
- Planning is Key: Don't just start drilling holes. Sketch out your layout. Decide where each component will go, considering cable routes, fan placement, and overall aesthetics. Think about the size of your components and the space you have available on the wall.
- Component Selection: While most standard PC components work, some might be better suited. For instance, an AIO liquid cooler often looks cleaner than a bulky air cooler. Consider motherboards with good-looking heat sinks and RGB.
- Mounting Solution: You can buy dedicated wall-mount PC chassis (like those from Thermaltake, for example) or go completely DIY. For DIY, you'll need a sturdy backing board (acrylic, wood, or metal) and standoffs to mount your motherboard. I've seen some incredible designs using custom-cut wood or even old server racks.
- Cable Management Strategy: Before you even connect anything, plan your cable runs. Use custom-length PSU cables if possible, or at least sleeve your existing ones neatly. Cable combs are your friend! Consider running cables behind the mounting board or through drilled channels to keep them hidden.
- Testing and Iteration: Don't mount everything permanently until you've done a test run. Power everything up, make sure it all works, and check temperatures. It's much easier to fix issues when the system isn't fully secured to the wall yet.
Honestly, building a wall-mounted PC isn't just about the end product; it's about the journey. It's a challenging, rewarding project that teaches you a ton about PC hardware and aesthetics. Seeing your creation light up the room, knowing you put every single piece together and managed every single cable, that's a feeling of accomplishment unlike any other. It’s an awesome way to make your setup truly yours, a reflection of your passion for technology and design.
Editorial Team
Contributor and staff analyst writing detailed analyses, guides, and coverage on technology, strategy, and modern digital ecosystems.